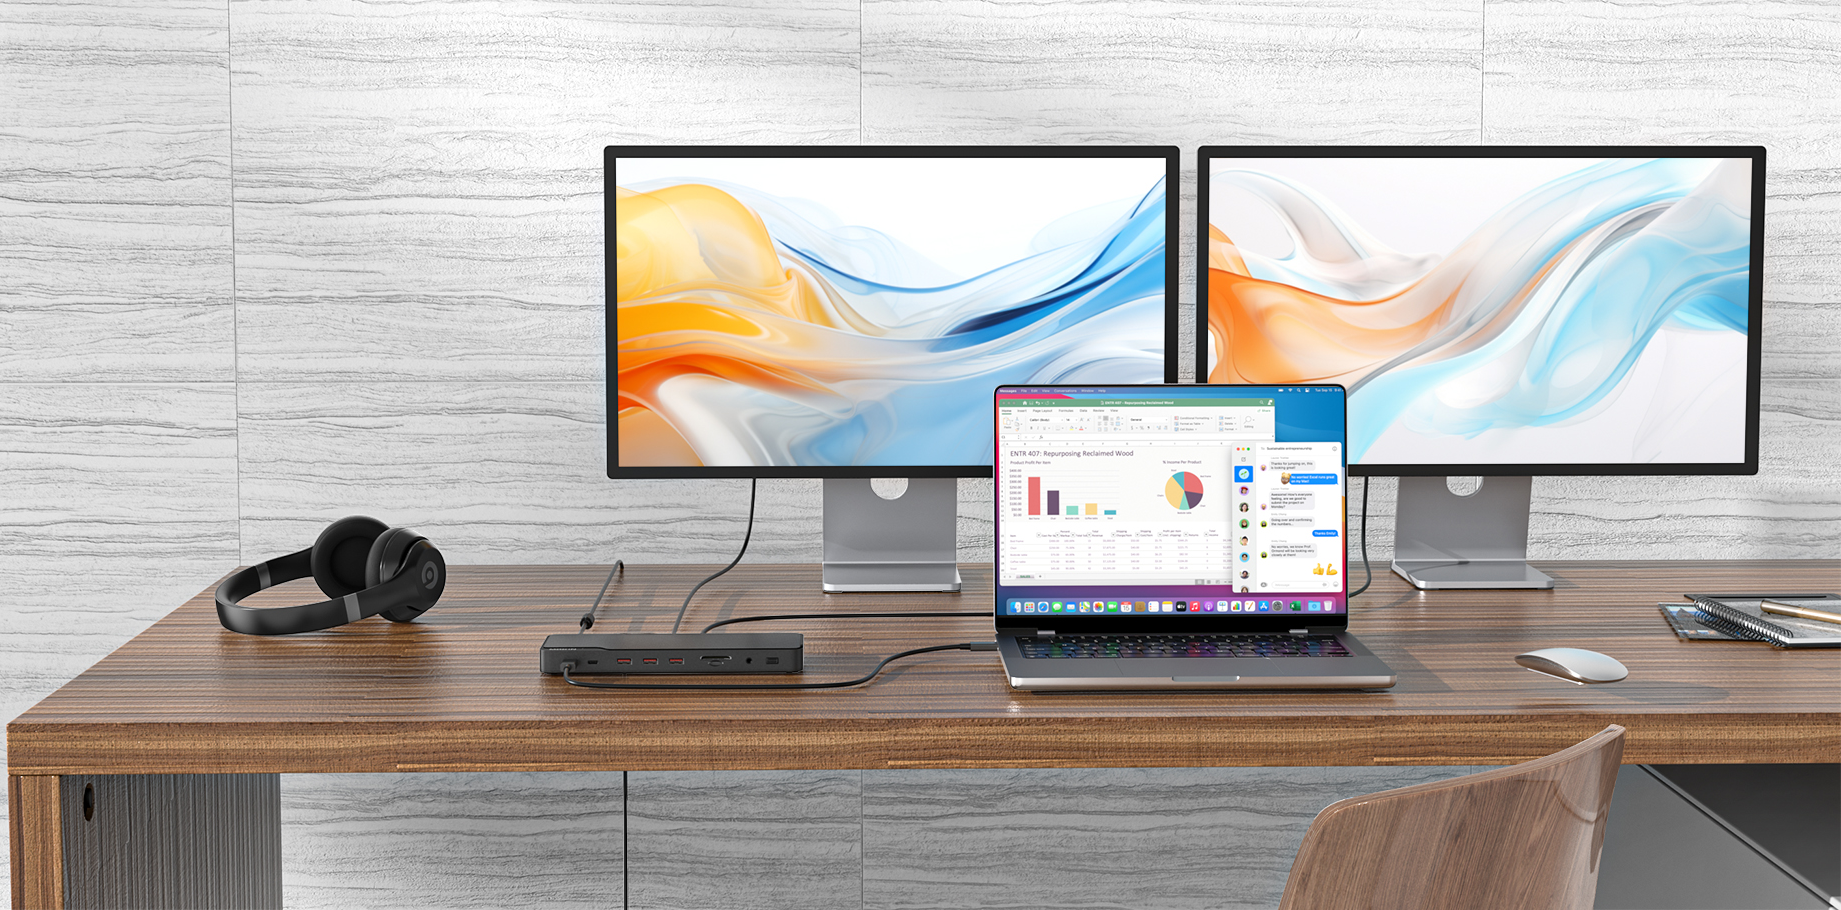
For professionals and multitaskers, a multi-monitor setup significantly boosts productivity. One efficient way to achieve this is by using a docking station with Multi-Stream Transport (MST) support. Below is a step-by-step guide on how to connect a PC to a dock for a triple-display setup.
Prerequisites
1. Compatible Docking Station: Ensure the dock supports MST (common in USB-C/Thunderbolt or DisplayPort 1.2+ docks).
2. GPU and Ports: The PC’s GPU must support MST (most modern AMD/NVIDIA/Intel GPUs do). Verify available ports (DisplayPort, HDMI, USB-C).
3. Cables: Use DisplayPort cables (preferably DP 1.2 or higher) for daisy-chaining. HDMI may require adapters but lacks native MST.
4. Monitors: All displays must have DisplayPort inputs (or use active adapters for HDMI/VGA).
Step-by-Step Setup
1. Connect the Dock to Your PC
- Plug the dock into your PC via USB-C/Thunderbolt or the designated port. Ensure the dock is powered (if required).
2. Enable MST on Monitors
- For daisy-chaining (via DP):
- Connect the dock’s DisplayPort to Monitor 1’s DP input.
- Use Monitor 1’s DP output to connect to Monitor 2’s DP input.
- Repeat for Monitor 3 if supported.
- Alternatively, if the dock has multiple DP/HDMI ports, connect each monitor directly.
3. Configure MST in Display Settings
- Windows:
- Right-click desktop > Display Settings.
- Detect all displays. If monitors aren’t recognized, enable MST in the monitor’s OSD (look for DisplayPort 1.2/MST or similar).
- Arrange displays as needed.
- macOS: Limited native MST support; consider third-party tools like DisplayLink.
4. Troubleshooting
- No Signal: Check cable integrity, GPU drivers, and monitor input settings.
- Limited Resolution: Ensure DP 1.2+ cables are used. Lower resolutions/refresh rates if bandwidth is exceeded.
- Dock Not Detected: Update dock firmware and GPU drivers.


